Making sandwich bread without yeast doesn’t mean compromising on softness, sliceability, or flavor. In fact, this no-yeast version is quicker, easier, and nearly foolproof, using pantry basics and requiring no rise time. Whether you’re avoiding yeast for dietary reasons or just don’t have any on hand, this recipe offers a reliable way to enjoy fresh, homemade sandwich bread with minimal fuss.
This article will walk you through the full process of preparing soft, sliceable sandwich bread without yeast. We’ll explore key ingredients, offer substitution tips, provide baking instructions, and share ideas for using and storing your loaf. Whether you’re new to baking or a seasoned pro, you’ll discover how to get bakery-worthy results without yeast.
Understanding the Core Ingredients in No-Yeast Sandwich Bread
Flour Basics: Why All-Purpose Flour Is Ideal
All-purpose flour is the perfect base for no-yeast sandwich bread. Its moderate protein content provides enough structure to hold the loaf together without making it overly dense. You can substitute half with whole wheat flour to increase fiber and nutrients, but avoid using more than 50%, as it can weigh down the loaf.
For those who only have cake flour or bread flour, you’re still in luck. Cake flour will produce a softer crumb, while bread flour is unnecessary here because the structure that gluten provides is less critical without yeast. Avoid using gluten-free flour in this recipe unless it’s been specifically tested, as this can result in poor texture and structure.
The Role of Baking Powder as a Leavening Agent
Unlike yeast, which takes time to ferment and rise, baking powder acts immediately when combined with liquid and heat. This recipe uses 8 teaspoons of baking powder for a 4-cup flour base, a standard ratio for quick breads. While this may sound like a lot, it’s essential for achieving a high, fluffy loaf in a short amount of time.
If you only have baking soda, you can substitute it by using 2 teaspoons of baking soda plus 1 teaspoon of white vinegar. The acid helps activate the baking soda, mimicking the rising power of baking powder.
Milk and Oil: Moisture and Tenderness in Every Slice
Milk adds moisture, tenderness, and helps create a soft crumb. You can use any kind of milk, including dairy-free alternatives like soy or almond milk. Warm milk is best, as it helps the baking powder activate more efficiently, giving the loaf a good rise.
Oil serves a dual purpose: it keeps the loaf moist and prevents it from becoming dry during baking. Neutral oils such as vegetable, canola, sunflower, grapeseed, or light olive oil all work well. Avoid strongly flavored oils that may alter the bread’s taste.
Salt and Sugar: Balancing Flavor and Structure
A small amount of sugar boosts browning and adds a subtle hint of sweetness, enhancing the flavor without making it dessert-like. Salt sharpens the taste and strengthens the dough. If you’re using table salt instead of kosher or cooking salt, reduce the quantity slightly to prevent over-salting the bread.
Why This Recipe Works Without Yeast
By combining these ingredients in the right proportions, you’re essentially making a structured batter that rises in the oven rather than on the countertop. It results in a loaf that’s soft, flavorful, and incredibly versatile—perfect for toast, sandwiches, or grilled cheese.

How to Make Sandwich Bread Without Yeast
- Total Time: 55 minutes
- Yield: 16-18 slices
- Diet: Vegetarian
Description
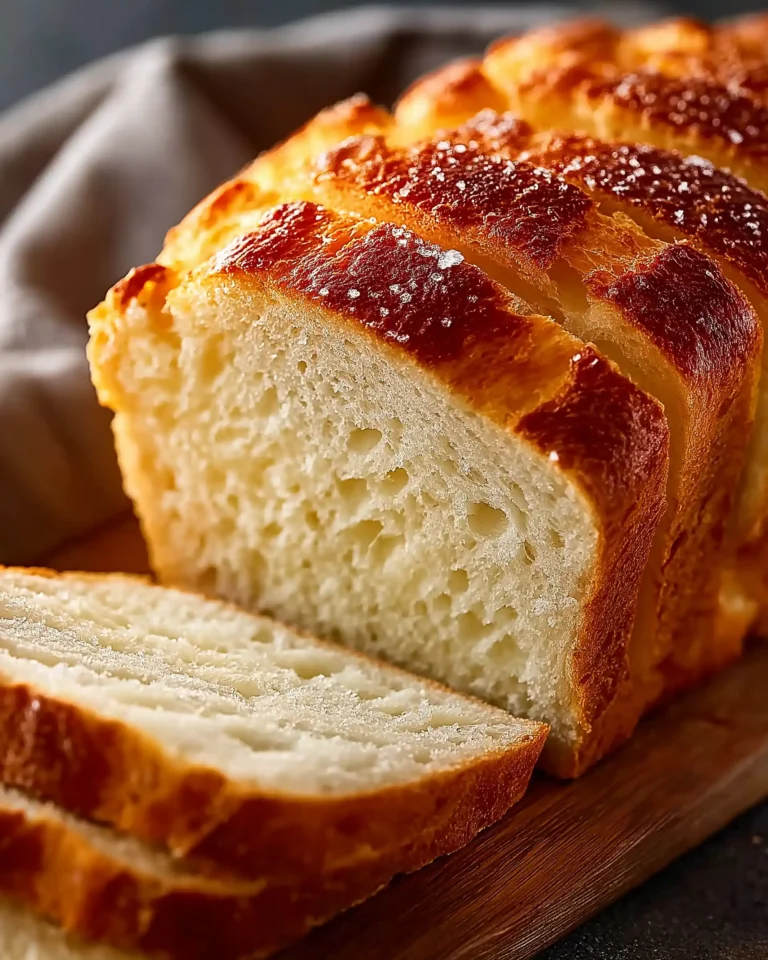
Soft, sliceable sandwich bread made without yeast using simple pantry ingredients. Perfect for toast, sandwiches, or French toast.
Ingredients
4 cups all-purpose flour
8 tsp baking powder
3 tsp white sugar
1½ tsp kosher/cooking salt (use 1 tsp if using table salt)
2¼ cups milk, warmed (any kind)
¼ cup neutral oil (vegetable, canola, sunflower, etc.)
Instructions
1. Preheat oven to 220°C/430°F (200°C fan). Grease a 22 x 13 cm (9 x 5″) loaf pan and line with parchment paper.
2. In a large bowl, combine flour, baking powder, sugar, and salt. Mix well.
3. Make a well in the center and pour in oil and warm milk. Stir until just combined. The batter will be thick but spreadable.
4. Scrape into the loaf pan. Smooth the top with a spatula.
5. Bake uncovered for 30 minutes.
6. Remove from oven, cover loosely with foil.
7. Reduce oven to 200°C/390°F (180°C fan). Return bread to oven and bake an additional 20 minutes.
8. Remove and cool in the pan for 5 minutes, then lift onto a wire rack using the parchment overhang.
9. Let cool completely for at least 45 minutes before slicing.
Notes
You can substitute up to half the flour with whole wheat.
If using self-rising flour, skip the baking powder.
Non-dairy milks such as soy or almond also work well.
To freeze: Slice and store with parchment between each slice in an airtight bag.
Slices even better on Day 2 and keeps for up to 3 days at room temperature.
- Prep Time: 5 minutes
- Cook Time: 50 minutes
- Category: Bread
- Method: Baked
- Cuisine: Western
Step-by-Step Instructions for Baking Sandwich Bread Without Yeast
Prepping the Pan and Oven for a Perfect Bake
Start by preheating your oven to 220°C (430°F) or 200°C (390°F) if using a fan-forced oven. A properly preheated oven ensures an immediate reaction from the baking powder, giving your bread the rise it needs.
Next, grease a 22 x 13 cm (9 x 5″) loaf pan thoroughly. For easy removal, line it with baking paper, leaving enough overhang on the sides to lift the loaf out after baking. This step is key because the batter is softer than typical dough and can stick if not prepared correctly.
Combining the Dry Ingredients
In a large bowl, mix the dry ingredients together. This includes:
- 4 cups of all-purpose flour
- 8 teaspoons of baking powder
- 3 teaspoons of white sugar
- 1 1/2 teaspoons of kosher or cooking salt (reduce to 1 tsp if using fine table salt)
Use a whisk or fork to evenly combine the ingredients. This helps distribute the leavening agents, salt, and sugar throughout the flour and ensures even rising.
Mixing in the Wet Ingredients
Create a well in the center of the dry mixture. Add:
- 2 1/4 cups of warmed milk
- 1/4 cup of neutral oil
Stir the mixture together until all the flour is fully incorporated. The batter will be thick—more like a muffin batter than a traditional kneadable bread dough. Don’t worry, this texture is normal and essential for the correct structure of the loaf.
Avoid overmixing. Stir just until you no longer see streaks of dry flour. Overmixing can make the bread dense and tough.
Filling and Leveling the Loaf Pan
Transfer the batter into your prepared loaf pan. Use a spatula to scrape every bit of batter out of the bowl and into the pan. Smooth the top surface as evenly as possible. A smooth surface promotes even rising and a uniform crust.
At this stage, don’t let the batter sit too long before baking. Because the baking powder starts reacting once it’s mixed with the liquid, getting it into the oven quickly ensures the bread rises properly.
The Two-Stage Baking Process Explained
Bake the loaf in the preheated oven for 30 minutes uncovered. This first bake gives the bread its initial rise and starts developing the crust.
After 30 minutes, remove the loaf from the oven and cover it loosely with foil. This prevents the top from over-browning or hardening.
Reduce the oven temperature to 200°C (390°F) or 180°C (350°F) for fan ovens, then return the loaf to bake for another 20 minutes. This second phase allows the inside of the loaf to cook through gently without drying out the outer layer.
Cooling and Slicing for Best Results
After baking, allow the bread to cool in the pan for 5 minutes. Then use the baking paper overhang to lift the loaf out and transfer it to a wire rack. Let it cool completely, for at least 45 minutes, before slicing.
This bread is more delicate than traditional yeast bread when fresh, but don’t worry—it slices perfectly the next day. The structure firms up as it cools, and it becomes easier to cut into neat, sandwich-ready slices.
Smart Substitutions and Ingredient Flexibility
Flour Substitutions: Adding Whole Wheat or Using Self-Rising Flour
While the recipe is designed for plain or all-purpose flour, it allows some flexibility. If you’re looking to boost fiber or create a heartier loaf, substitute up to 50% of the flour with wholemeal or whole wheat flour. This change gives the bread a more rustic texture and nutty flavor but still keeps it soft enough for sandwiches.
Using self-rising flour? You can easily swap it in for the all-purpose flour. If you do, skip the baking powder completely. No need to subtract flour or adjust anything else — the recipe is forgiving and will still deliver excellent results.
Avoid using 100% wholemeal or specialty flours unless you’ve tested them before. Heavier flours may cause the loaf to turn out too dense, affecting texture and sliceability.
What If You Only Have Baking Soda?
Baking powder is ideal here because it’s a complete leavening agent. But if you only have baking soda (bicarbonate of soda), don’t panic. You can use 2 teaspoons of baking soda instead of 8 teaspoons of baking powder, but you’ll need to add 1 teaspoon of white vinegar to the milk to activate it.
This substitution helps mimic the rise you’d get from baking powder, and the vinegar flavor disappears completely during baking. Make sure to mix well to distribute the reaction evenly throughout the batter.
Milk Options: Dairy and Non-Dairy Alternatives That Work
This bread is extremely forgiving when it comes to the liquid component. You can use:
- Whole milk
- Low-fat or skim milk
- Powdered milk (reconstituted)
- Plant-based milks like almond milk or soy milk
Even water works if you’re in a pinch, although the final crumb may be slightly less tender. For the best results, make sure your milk is warm but not hot — around body temperature is ideal. This helps activate the leavening agents right away and improves the loaf’s rise.
Oil Choices: Neutral Flavors Only
Stick with plain, neutral oils like:
- Canola
- Vegetable
- Sunflower
- Grapeseed
- Light olive oil
Avoid strongly flavored oils, as they may affect the bread’s final taste. The oil gives the bread moisture and helps keep it soft for several days without needing additives or preservatives.
Adjusting Salt for Different Types
Using cooking or kosher salt? Stick to 1½ teaspoons. If you only have table salt, reduce that to 1 teaspoon. Table salt has finer grains, meaning it packs more sodium into the same volume. If you forget to adjust, the bread may end up overly salty.
No Special Equipment Needed
One of the best parts of this recipe is its simplicity. There’s no kneading, no special mixers, and no rise time. All you need is a bowl, spatula, measuring cups, and a loaf pan. You can even bake it in a round or square pan, though it won’t be as tall. Muffin trays work, too — just bake for 22–25 minutes at 180°C (350°F) and check with a toothpick.
Storing, Reheating, and Shelf Life of No-Yeast Sandwich Bread
Cooling It Right: The First Step to Freshness
Once the bread comes out of the oven, let it rest in the pan for about 5 minutes. This allows the crumb to firm up slightly, making it easier to handle. Then, lift it out using the parchment paper overhang and place it on a wire rack.
It’s crucial to let the loaf cool completely—at least 45 minutes—before slicing. While it may be tempting to cut into it while it’s warm, doing so could cause the structure to collapse slightly. Cooling allows steam to escape and the crumb to stabilize, making it easier to slice neatly.
Best Way to Store No-Yeast Bread
This bread stores best at room temperature in an airtight container or wrapped in cling film. You can also wrap it in a clean kitchen towel and place it in a resealable bag to prevent it from drying out.
Avoid refrigerating the loaf. Cold storage tends to dry out bread faster and can make the texture feel stale, especially for no-yeast recipes.
For best freshness:
- Room temperature: Keeps well for 2 to 3 days
- Freezer: Up to 3 months when wrapped tightly
How to Freeze and Reheat Like a Pro
Freezing is a great way to keep this bread on hand for longer. Slice the loaf completely once cooled, then place parchment paper between each slice before stacking them in a freezer-safe bag. This prevents the slices from sticking together.
To reheat:
- Toast from frozen for a crispy finish.
- Microwave for 10–15 seconds if you want a soft texture.
- Or wrap in foil and bake at 160°C (320°F) for 10 minutes if reheating the entire loaf.
This way, you can pull out just a few slices at a time or warm the whole loaf for guests or meal prep.
Signs It’s Time to Discard the Bread
Check for mold, an off smell, or a dry, tough texture. Because this bread doesn’t contain preservatives, it won’t last as long as commercial loaves. But the oil and milk help extend freshness naturally without additives.
You’ll find the bread is even easier to slice the next day, and the texture improves slightly over time, making it perfect for sandwiches, toast, or even next-day French toast.
Conclusion: Why Sandwich Bread Without Yeast Belongs in Every Kitchen
Baking sandwich bread without yeast doesn’t just fill a gap when you’re out of ingredients—it opens up an entirely new approach to home baking. This recipe proves that soft, fluffy, and sliceable bread doesn’t require hours of rising or specialized tools. In fact, it comes together in under an hour using simple pantry staples, making it perfect for beginners, busy families, or anyone who values quick, wholesome homemade food.
From toast to grilled cheese, from sandwiches to French toast, this no-yeast loaf does it all. It’s nutritious, highly adaptable, and easy to store or freeze. You don’t have to sacrifice quality or texture—this bread delivers softness and structure in every slice.
What makes this recipe truly special is its flexibility. You can use regular milk or plant-based alternatives, choose your favorite neutral oil, or swap in a bit of whole wheat flour for extra nutrients. You can even customize the shape by using different pans or making muffins from the batter.
So next time you’re short on yeast or simply want to make a loaf without waiting for hours of rise time, turn to this reliable, forgiving recipe. It’s proof that sometimes, the best baking shortcuts still deliver all the flavor, warmth, and satisfaction of a classic homemade loaf—minus the wait.
This sandwich bread without yeast is more than a substitute—it’s a staple worth making again and again.


