If you love freshly baked treats in the morning but don’t have time for daily baking, these Freezer-Friendly Breakfast Scones are the perfect solution. They are buttery, soft, and lightly sweet, made to be stored and reheated without losing texture or flavor. This recipe combines simple pantry staples with rich cream and high-quality vanilla flavor for a comforting breakfast that can be ready in minutes. Whether you enjoy them with chocolate chips, fruit, or nuts, these scones offer the ideal balance between convenience and homemade taste.
Step by Step – How to Make Freezer-Friendly Breakfast Scones
Gather Your Ingredients
You’ll need 2 cups of all-purpose flour, ½ cup of granulated sugar, ½ teaspoon salt, 2½ teaspoons baking powder, and ½ cup unsalted butter (frozen). You’ll also need ½ cup heavy cream or buttermilk (plus 2 tablespoons for brushing), 1 large egg, and 1½ teaspoons of alcohol-free vanilla flavor such as Simply Organic Alcohol-Free Vanilla Flavor or Watkins Clear Vanilla Flavor. For your mix-ins, add about 1 to 1½ cups of chocolate chips, berries, or nuts. Optional: sprinkle coarse sugar on top for texture.
Prepare the Dough
Start by whisking the flour, sugar, salt, and baking powder in a large bowl. Grate the frozen butter using a box grater, then toss it into the dry ingredients. Use a pastry cutter, two forks, or your hands to combine until the mixture resembles coarse crumbs with pea-sized bits of butter. Place this bowl in the refrigerator to keep the butter cold while you prepare the wet ingredients.
Combine Wet Ingredients
In a separate small bowl, whisk the heavy cream, egg, and vanilla flavor. Drizzle this mixture over the flour-butter blend, then add your choice of add-ins. Stir gently until the dough begins to come together. If the dough feels too dry, add a tablespoon or two of extra cream; if too sticky, sprinkle in a bit more flour.
Shape the Scones
Lightly flour your work surface and turn out the dough. Using floured hands, shape it into a round disc about 8 inches wide and 1 inch thick. Cut into 8 equal wedges using a sharp knife or bench scraper. For smaller scones, divide the dough into two discs and cut each into 8 wedges.
Chill Before Baking
Arrange the scones on a parchment-lined baking sheet. Brush with a little cream and, if desired, sprinkle coarse sugar over the top. Place them in the refrigerator for at least 15 minutes to firm up before baking.
Bake to Perfection
Preheat your oven to 400°F (204°C). Line a baking sheet with parchment paper or a silicone mat, spacing the scones 2–3 inches apart. Bake for 18–26 minutes, depending on size, until golden brown on the edges and lightly browned on top. Cool slightly before serving.
Print
Freezer-Friendly Breakfast Scones
- Total Time: 25 minutes
- Yield: 6 servings
- Diet: Vegetarian
Description
These Sheet Pan Pancakes (Freezer) are an easy way to make breakfast for the whole family. Bake one large batch, slice, and freeze for quick, fluffy pancakes any time you need them.
Ingredients
2 ½ cups all-purpose flour
2 tablespoons cane sugar
2 tablespoons aluminum-free baking powder
½ teaspoon salt
2 cups milk
2 eggs
4 tablespoons melted butter
1 teaspoon Simply Organic Alcohol-Free Vanilla Flavor or Watkins Clear Vanilla Flavor
Cooking spray
Toppings of choice: chocolate chips, blueberries, strawberries, bananas
Instructions
1. Preheat oven to 425°F and grease a 13×18-inch sheet pan with cooking spray.
2. In a large mixing bowl, whisk together flour, sugar, baking powder, and salt.
3. Make a well in the center and add milk, eggs, melted butter, and alcohol-free vanilla flavor.
4. Whisk until smooth with a few small lumps remaining.
5. Pour the batter evenly into the prepared pan and spread it to the edges.
6. Top each section with chocolate chips, blueberries, strawberries, or bananas.
7. Bake for 15–17 minutes until golden brown and set.
8. Let cool slightly, slice into 12 portions, and serve warm with maple syrup, honey, or fresh fruit.
Notes
Storage: Let pancakes cool completely before storing. Keep in an airtight container in the refrigerator for up to 3 days.
Freezing: Slice into squares, freeze on a tray, then transfer to freezer-safe bags for up to 3 months.
Reheating: Warm in a 350°F oven covered with foil for 5–7 minutes, or microwave with a damp paper towel for soft results.
Tips: Create flavor sections on one sheet for variety and use buttermilk for extra fluffiness.
- Prep Time: 8 minutes
- Cook Time: 17 minutes
- Category: Breakfast
- Method: Baked
- Cuisine: American
Tips and Tricks for Perfect Scones
Keep Ingredients Cold
The key to flaky Freezer-Friendly Breakfast Scones is using cold ingredients, especially the butter. Cold butter creates steam pockets as it melts, giving the scones their signature layers. Always chill your dough before baking.
Don’t Overmix
Mixing too much can make your scones tough. Stir just until the dough comes together and no dry flour remains. A light hand equals soft, tender results.
Customize the Flavor
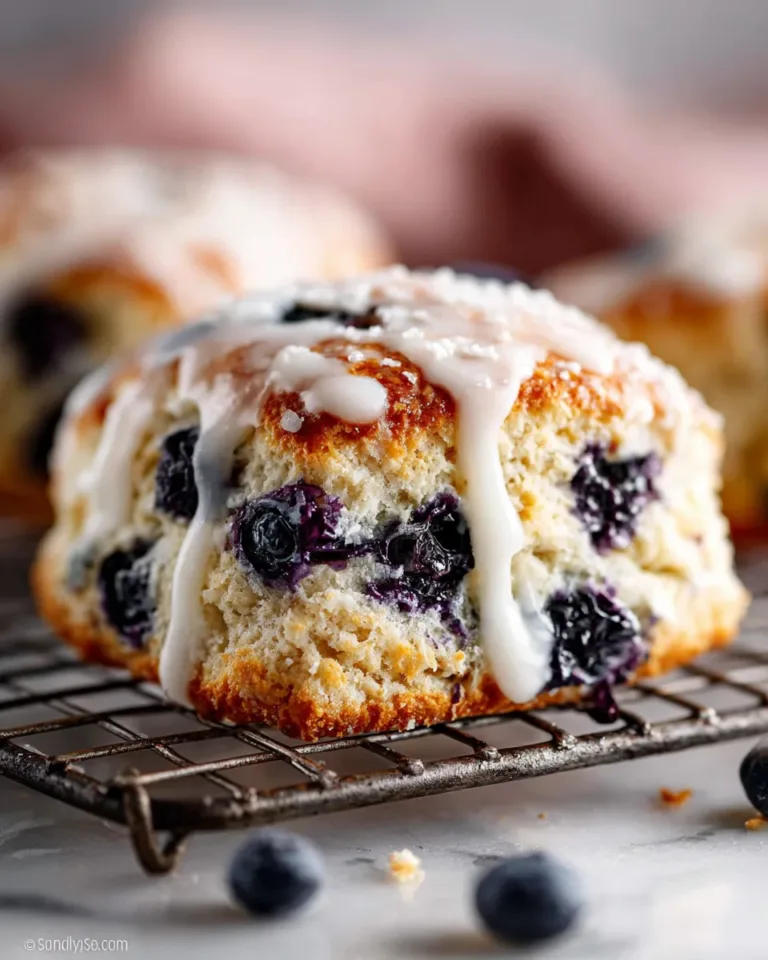
You can easily adapt this recipe. Add cinnamon when using chocolate chips, or fold in blueberries, raspberries, or chopped peaches. Use flavor variations like lemon zest or orange zest for a citrus twist.
Use the Right Vanilla Flavor
Choose alcohol-free vanilla flavors for the best taste and purity, such as Simply Organic Alcohol-Free Vanilla Flavor or Watkins Clear Vanilla Flavor. They give a rich, classic aroma without any bitterness.
Notes and Freezing Instructions
Freeze Before Baking
To freeze the dough, place the cut scones on a baking sheet and freeze for about an hour. Once firm, transfer them to a freezer-safe container or bag. Bake directly from frozen, adding a few extra minutes to the baking time.
Freeze After Baking
You can also freeze baked scones. Let them cool completely, then store in airtight containers. When ready to serve, warm them in the oven at 300°F (149°C) for 10 minutes or microwave for about 30 seconds.
Overnight Prep Option
Prepare your dough up to the shaping stage, cover tightly, and refrigerate overnight. Bake them fresh the next morning for a warm, ready-to-eat breakfast.
Storage and Serving Ideas
Short-Term Storage
These Freezer-Friendly Breakfast Scones will keep at room temperature for 2 days in an airtight container. For longer storage, refrigerate for up to 5 days.
Freezer Storage
When properly wrapped or stored in freezer-safe bags, the scones will last up to 3 months. Label with the date for easy reference.
Serving Suggestions
Enjoy your scones plain, or top with simple glazes like vanilla icing, lemon glaze, or maple drizzle. Pair them with coffee, tea, or warm milk for a cozy breakfast. You can also slice them and spread butter, jam, or fruit compote for a sweet treat.
Conclusion
These Freezer-Friendly Breakfast Scones combine simplicity with comfort, making them a must-have for busy mornings. With just a few steps, you can prepare and freeze them ahead, ensuring that freshly baked scones are always within reach. Customize them with your favorite add-ins and enjoy a flaky, buttery breakfast any day of the week.


